【スプーンキット】
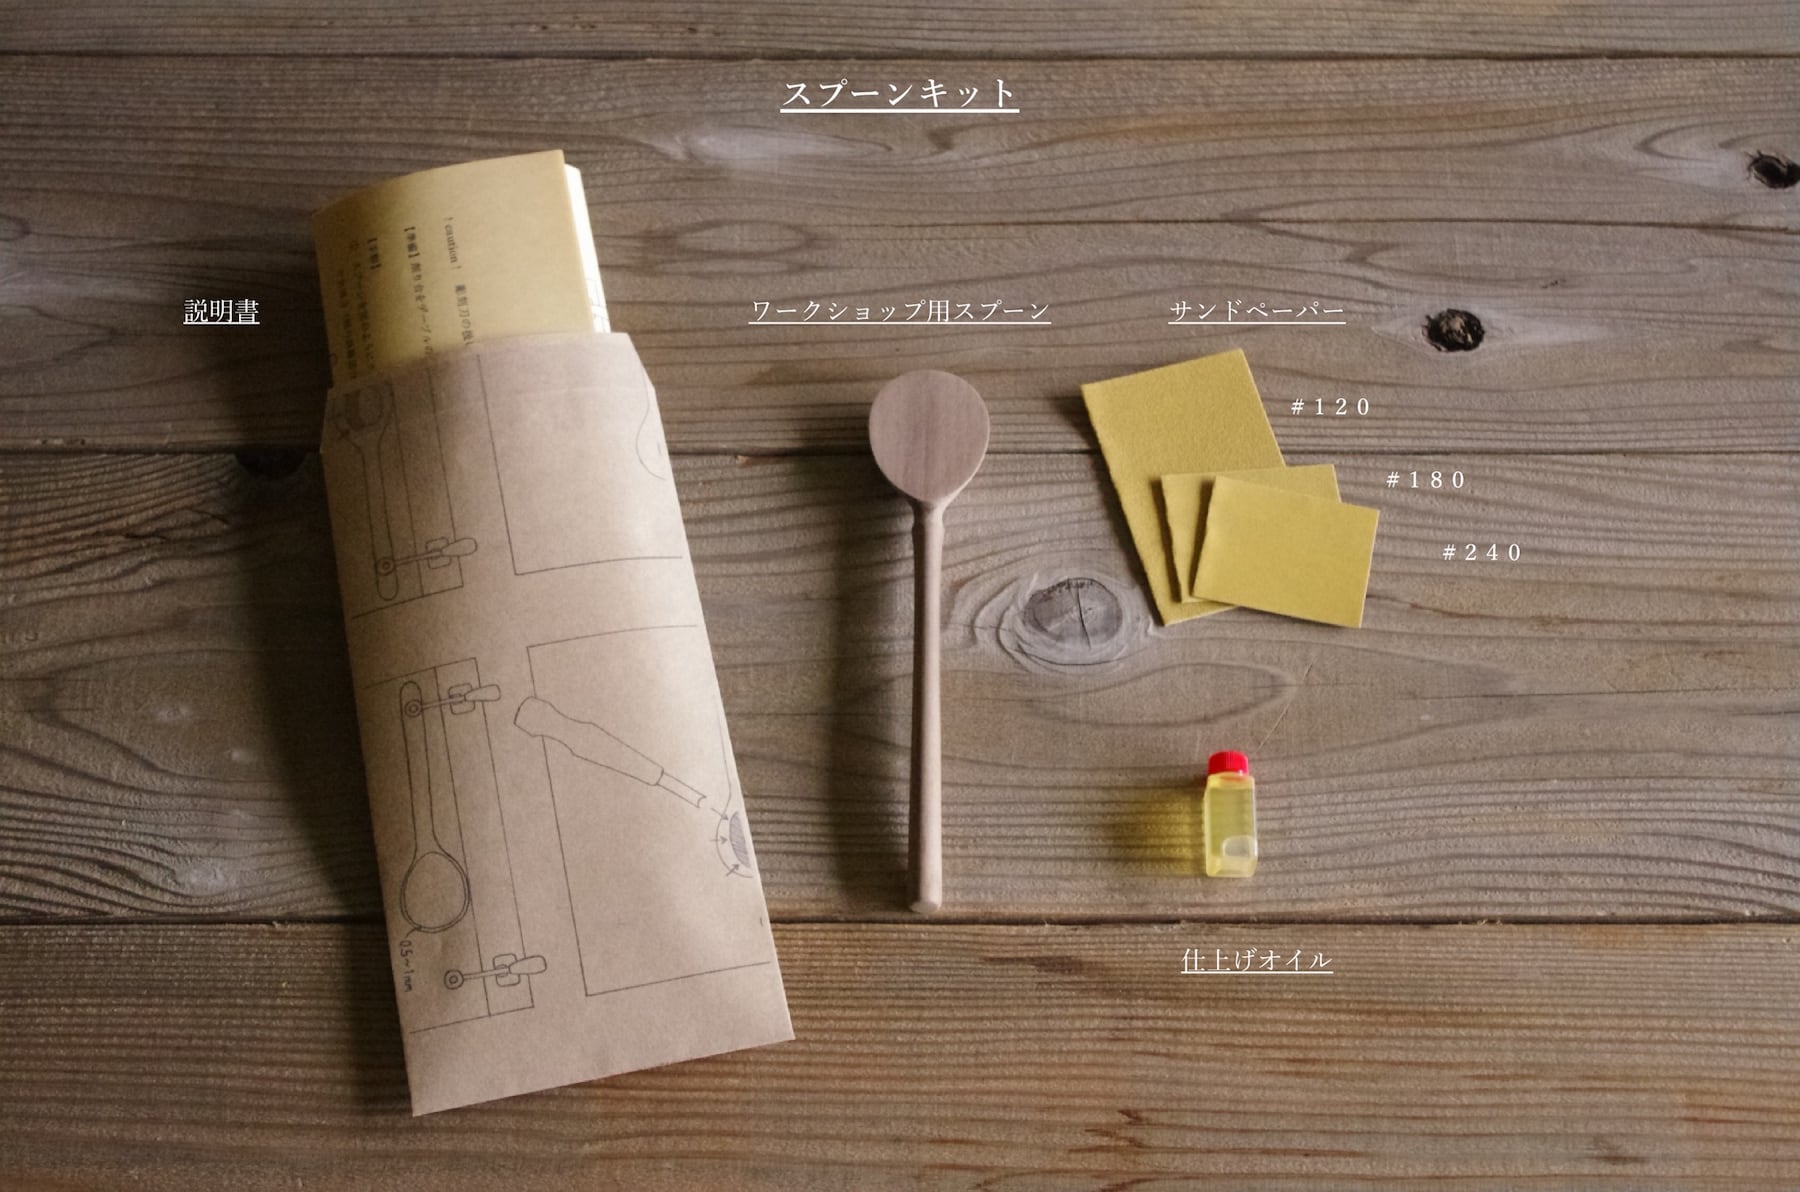


スプーン作りを自宅で楽しむワークショップキット
【キット内容】
・ワークショップ用スプーン
[サイズ]L:約20cm W:約4cm
・サンドペーパー #120 #180 #240
・仕上げ用オイル(荏胡麻油)
・説明書
*彫刻刀 別売り
*削り台 別売り
*削り台・彫刻刀 レンタル有り
(この商品に付属しておりません)
無料レンタルページリンク
https://store.chakka-chakka.jp/items/28667357
CAUTION!
・彫刻刀の扱いにはご注意下さい。
・お子様だけでの作業は危険ですので必ず保護者の管理のもとで行って下さい。
・ケガ、事故等の責任は一切負いかねます。
・すべて手作業で削り出しておりますので、一点物になります。
・木目や色味が気になる方は、”お問い合わせ”より事前にご連絡下さい。
・表記サイズより数ミリの誤差があるものもございます。
詳細説明ブログ
https://toukatoukatouka.hatenablog.jp/entry/2020/04/30/workshopspoon
スプーン製作手順
【事前準備】
(スプーンキット以外にご用意して頂くもの)
・彫刻刀(丸 6〜9mmのものが望ましい)
・削り台(もしくはスプーンをしっかり固定できるクランプ)
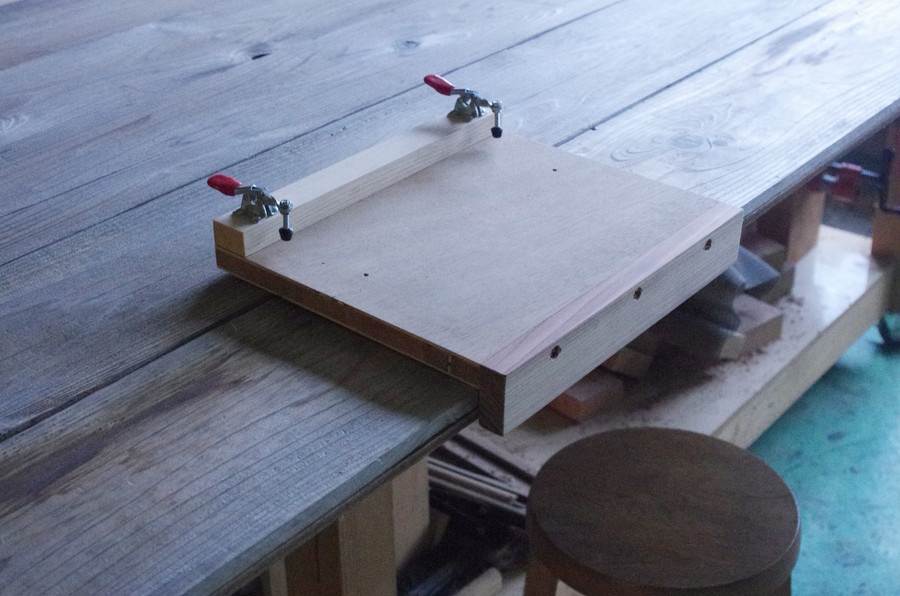
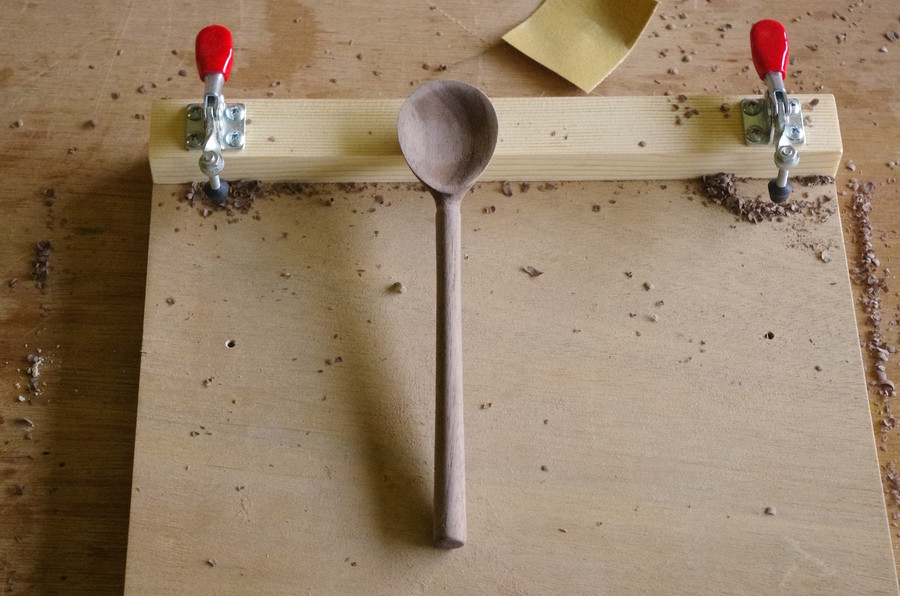
【削り台を使っての製作例】
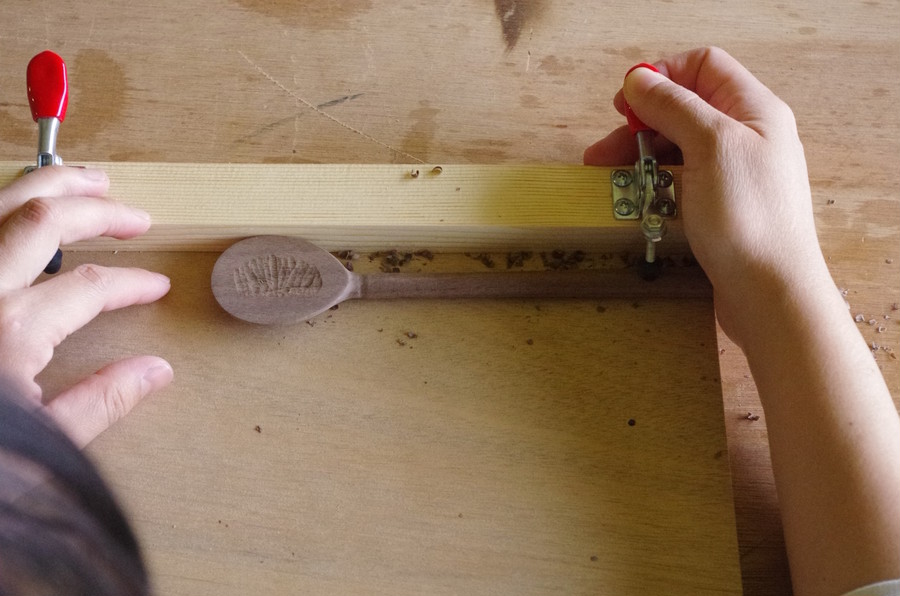
テーブルの端に削り台をセット
(削り台は付属していません)
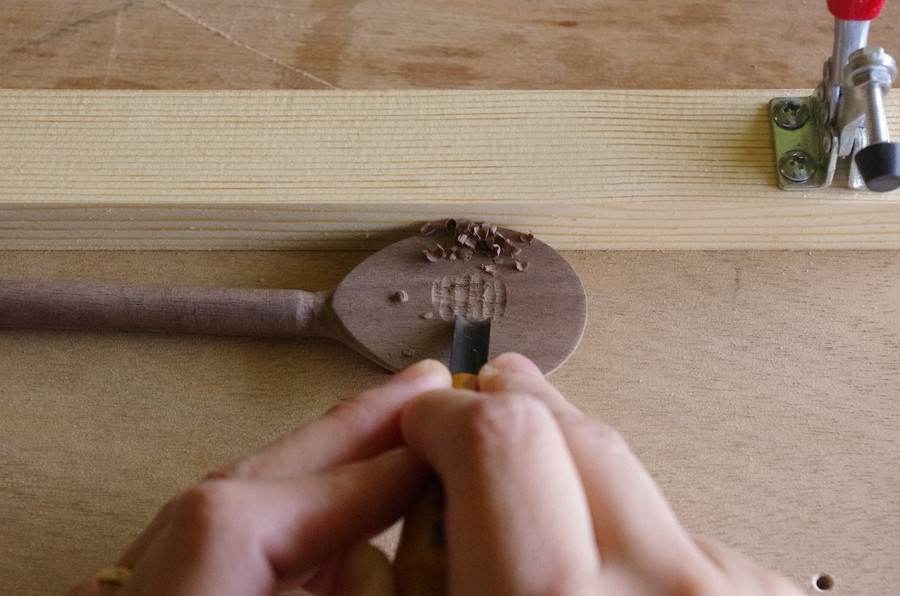
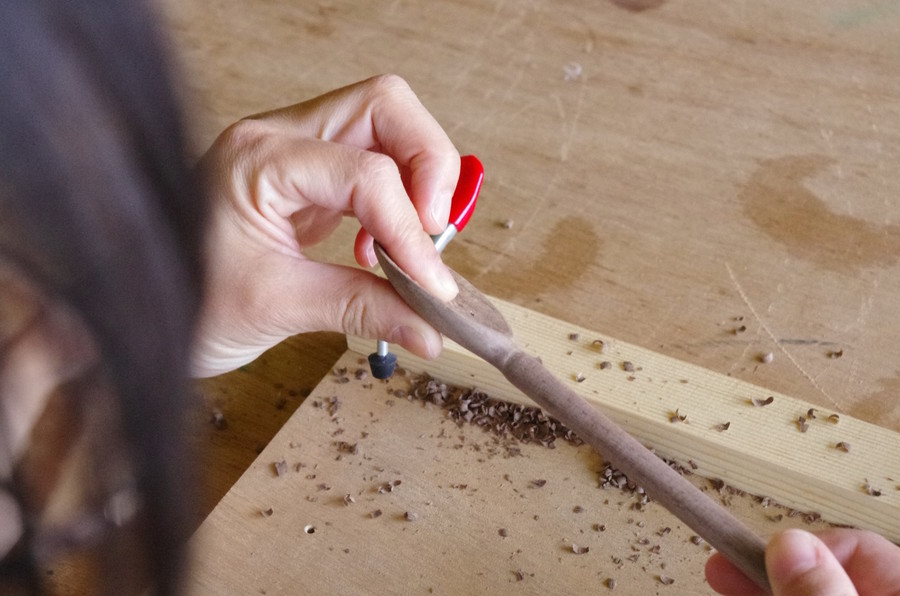
①−1 スプーンをクランプで固定(カチっと音がするまで!)
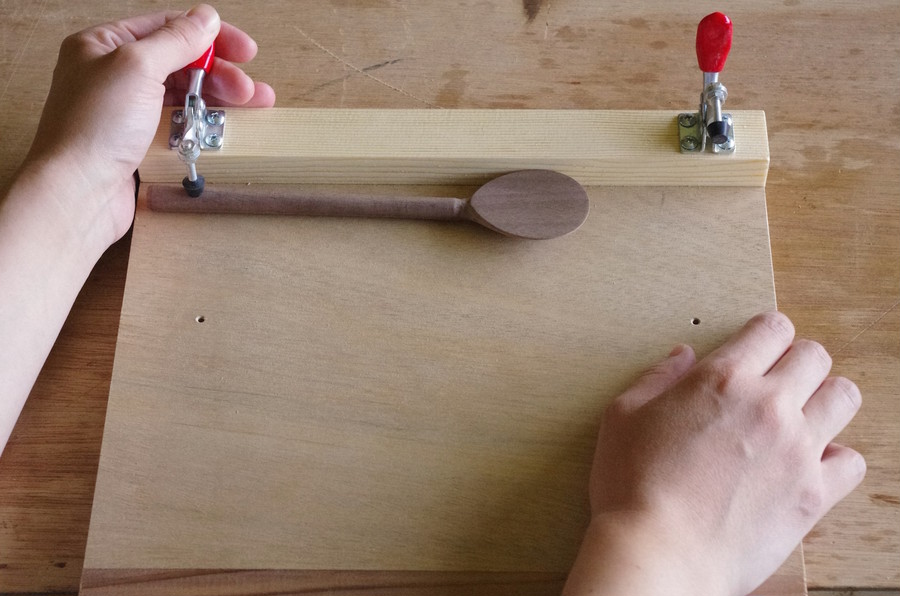
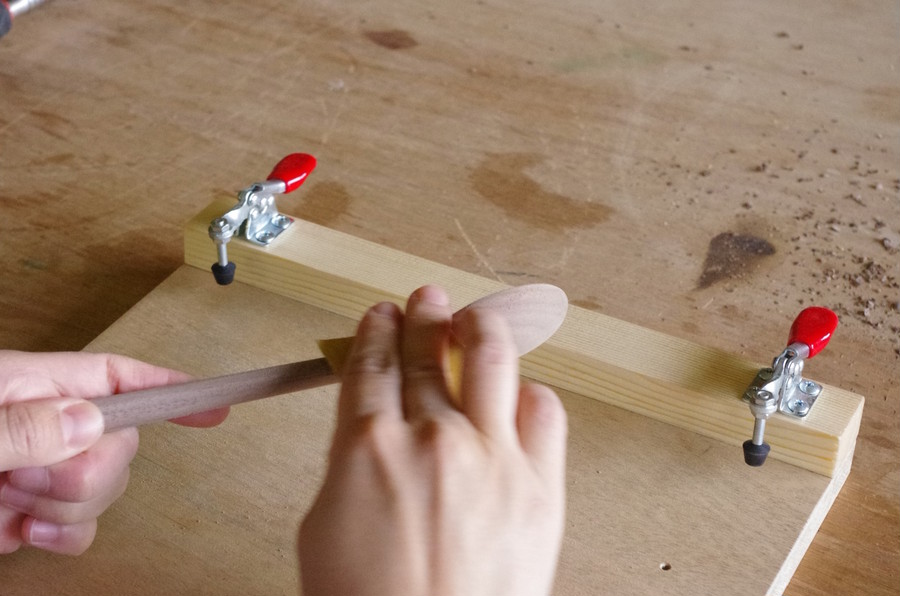
①−2 中央部分を彫刻刀で削る
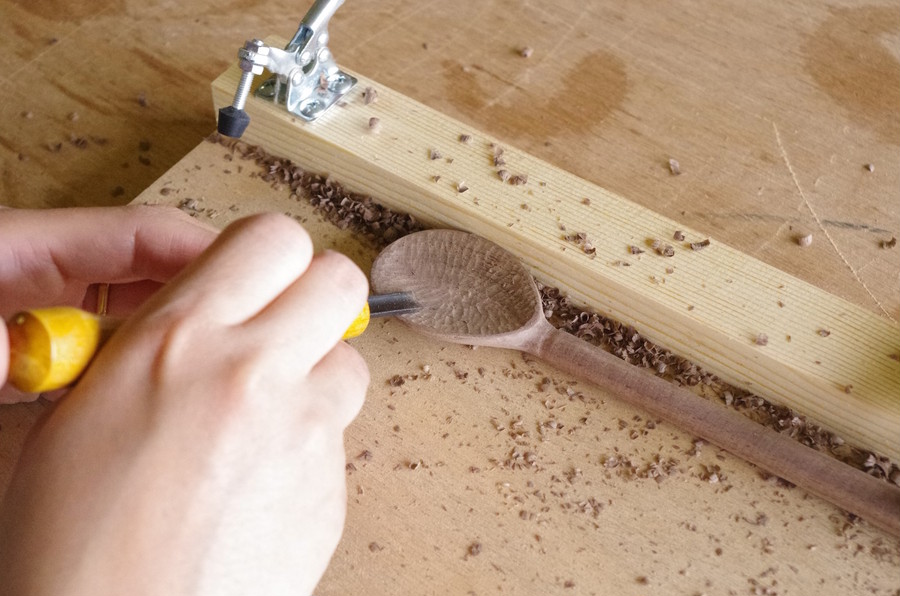
② ひと回り広げるように(中央より手前側)削る
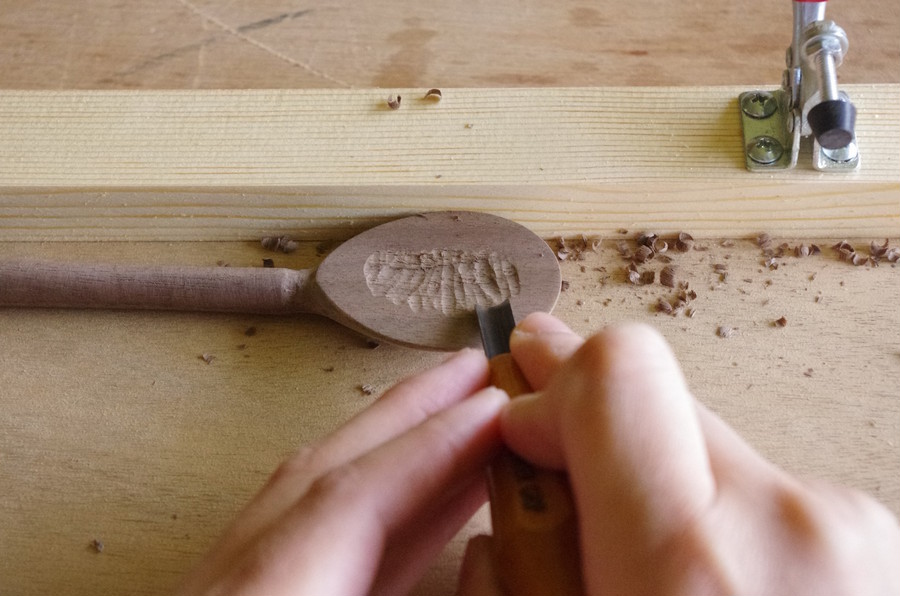
③ スプーンの向きを変え、②同様に削る
④ ①〜③を繰り返して少しずつ深くしていく
caution!
・一度に深く削ろうとせず、少しづつ削りましょう。
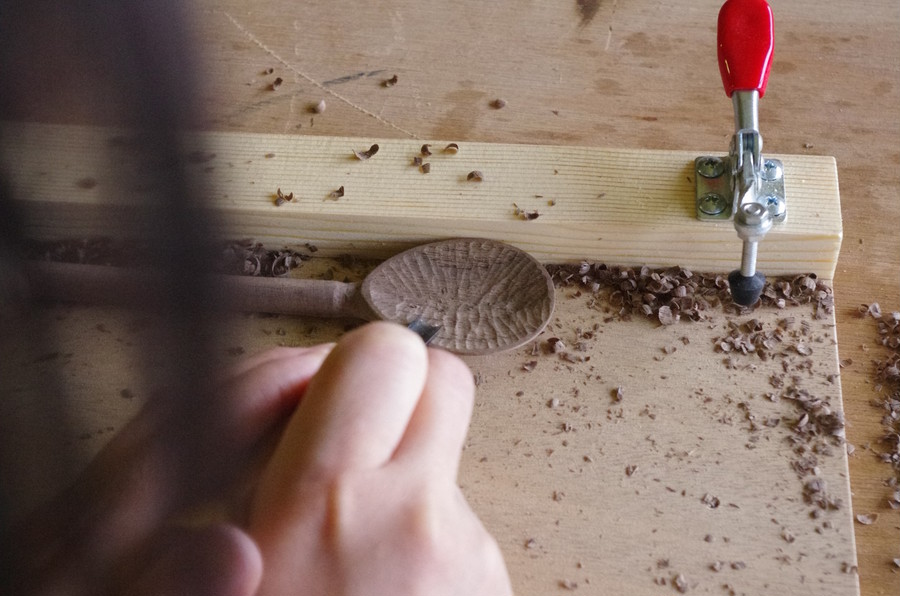
・画像下のように木目に引っかかったときは、無理に進めずスプーンの向きを変えて削って下さい。
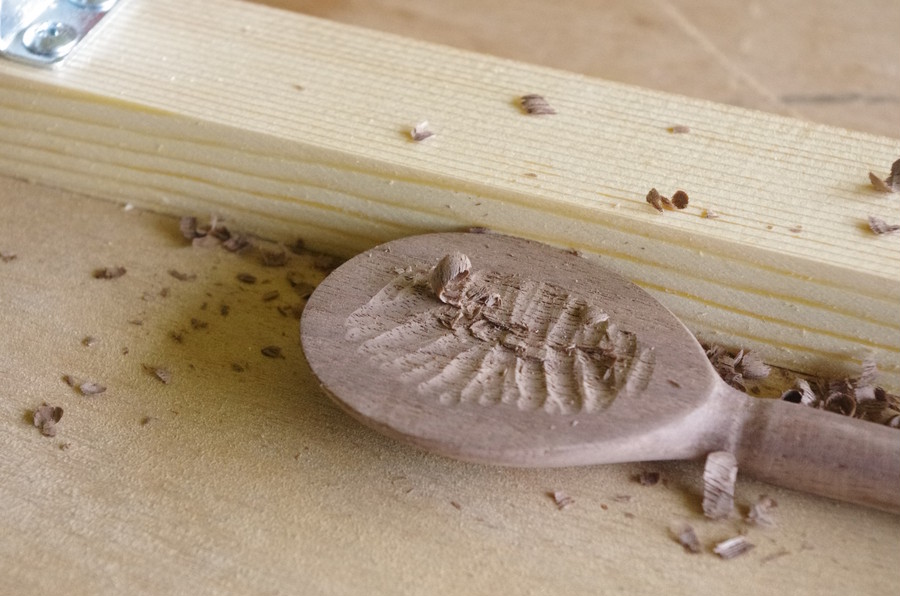
⑤ 薄くなり過ぎるのに注意して、好みの深さまで削る
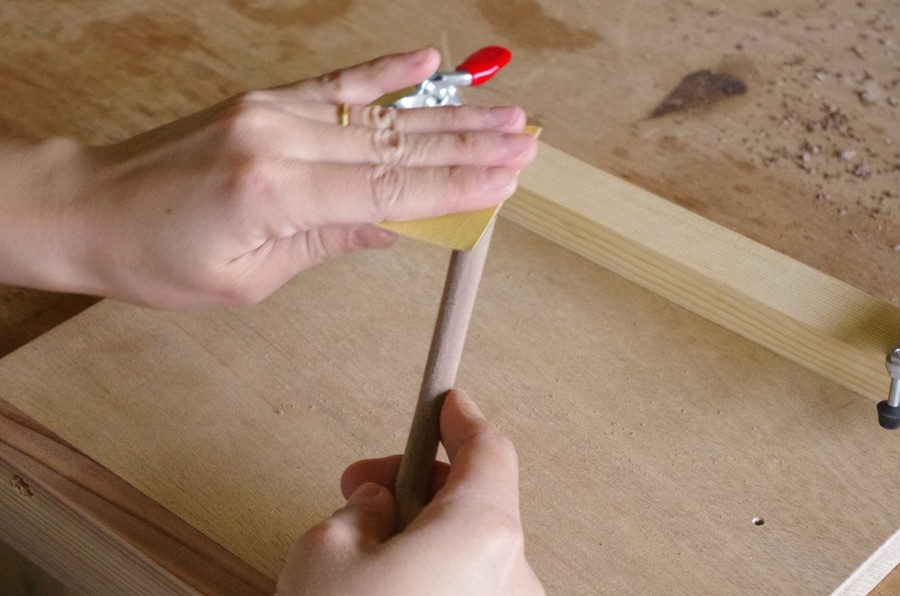
⑥ サンドペーパー#120で研磨して、彫刻刀の跡を消す
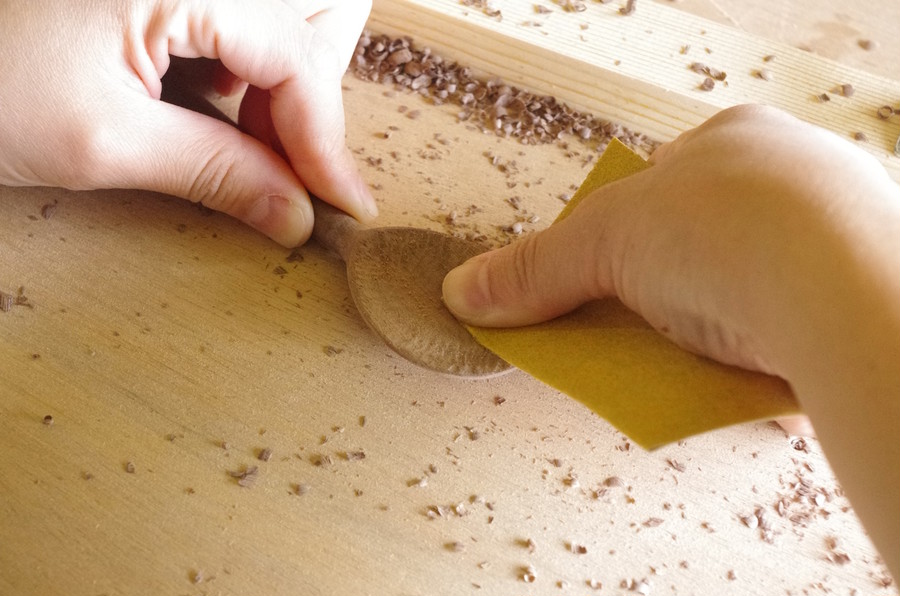
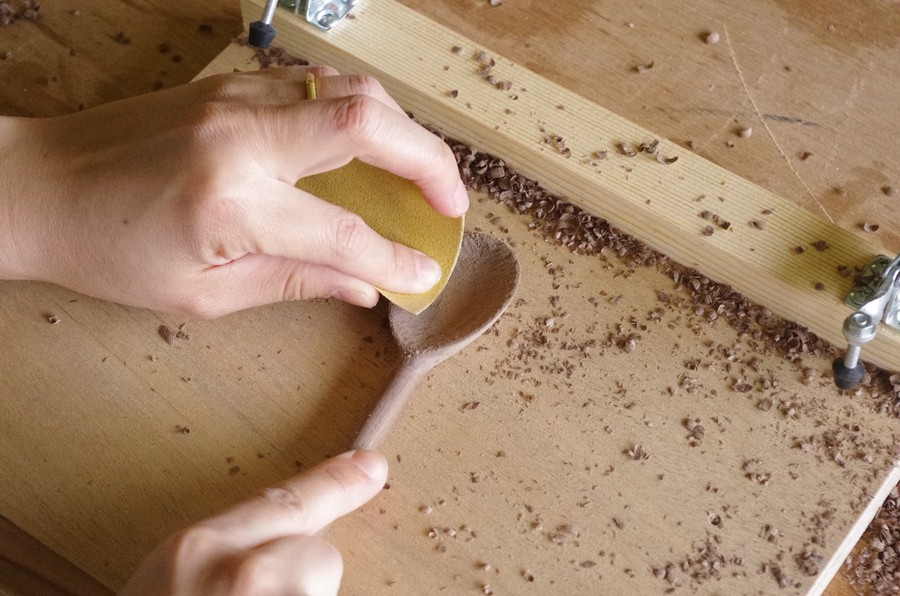
⑦ サンドペーパー#180で研磨

⑧ 布で木粉を拭き取る(省略可)
⑨ 水洗いして水気を取り、日陰でよく乾かす(省略可)
*15〜30分で乾きます
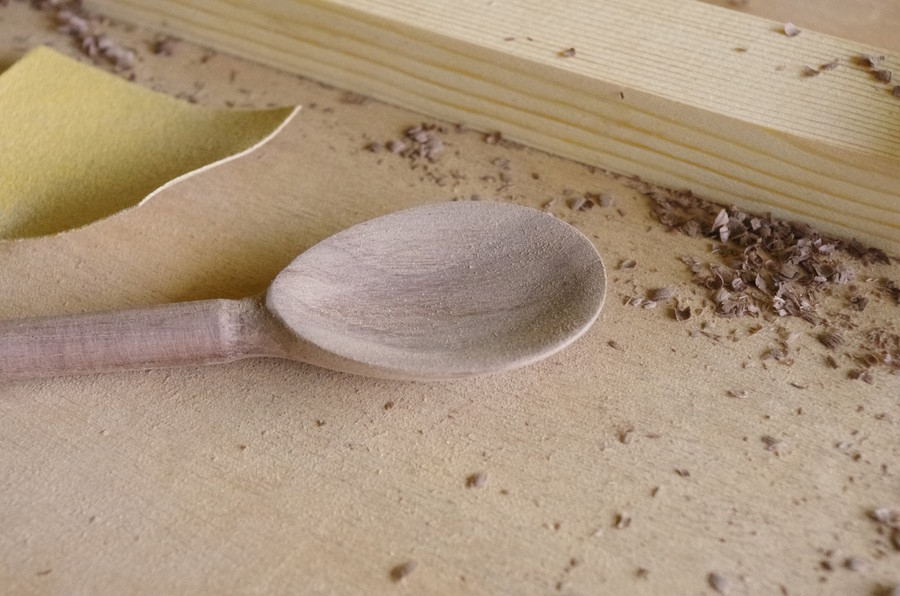
⑩ サンドペーパー#240で全体を研磨
(最終研磨ですので、ボソボソのところがないようにしましょう!)
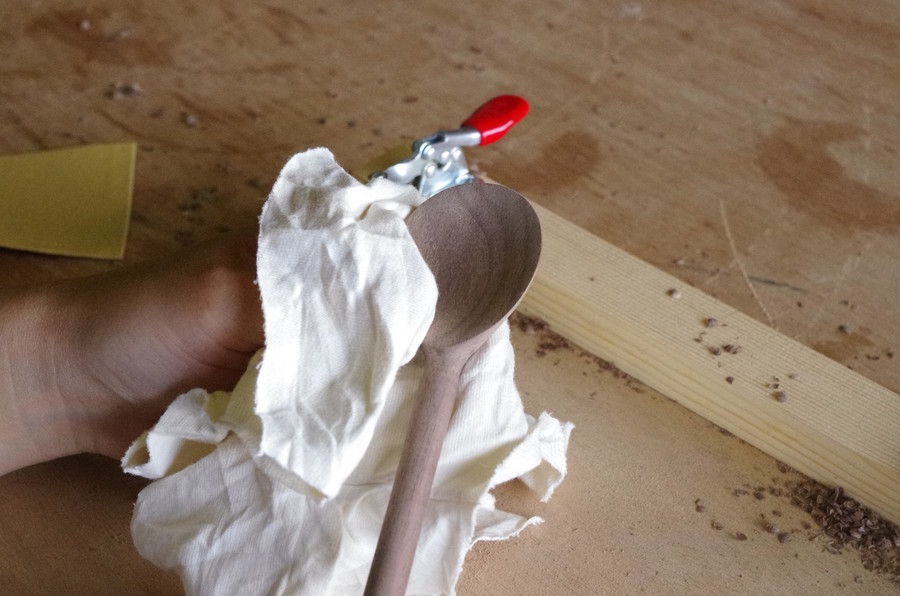
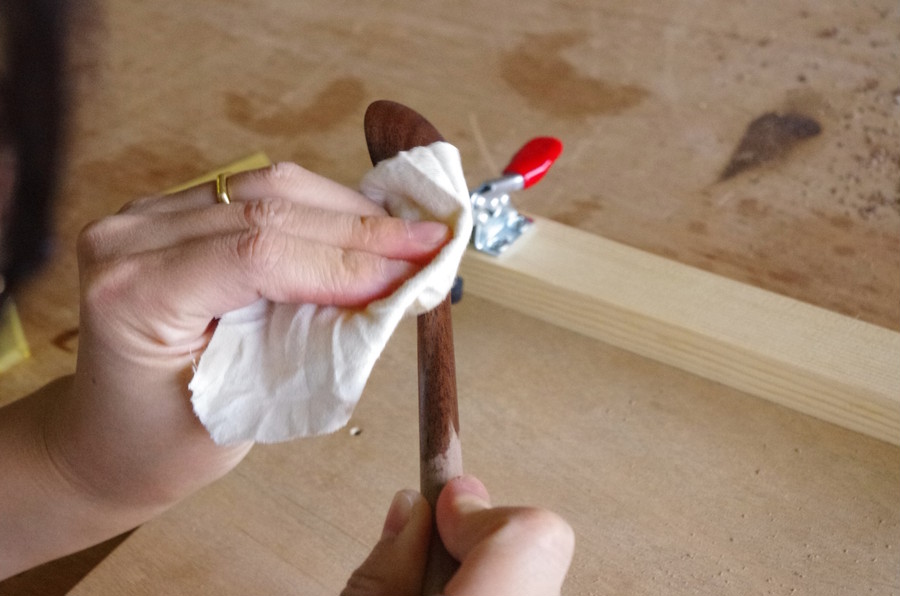
【仕上げ】
・仕上げ用オイルを布に染み込ませ、全体に塗る
・最後に余分なオイルを拭き取る
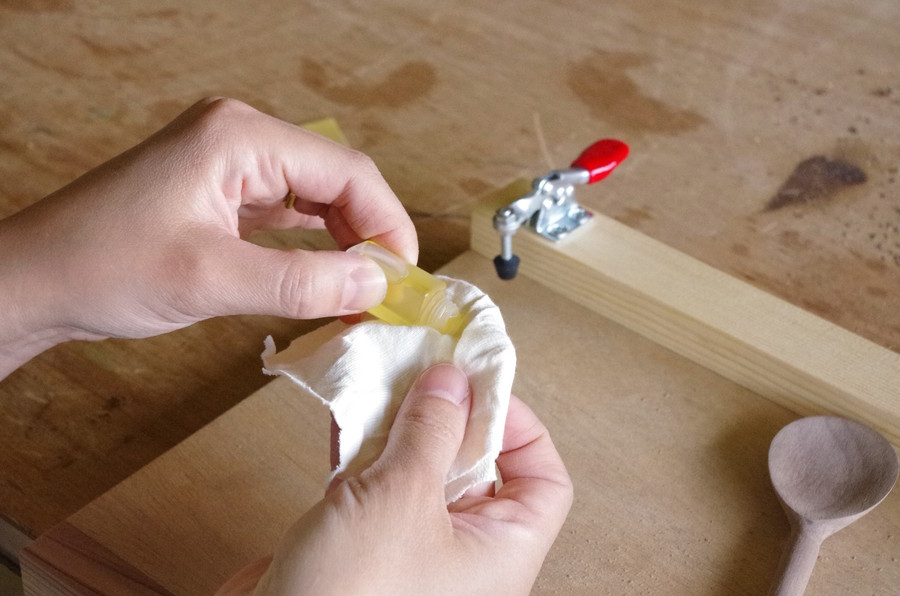
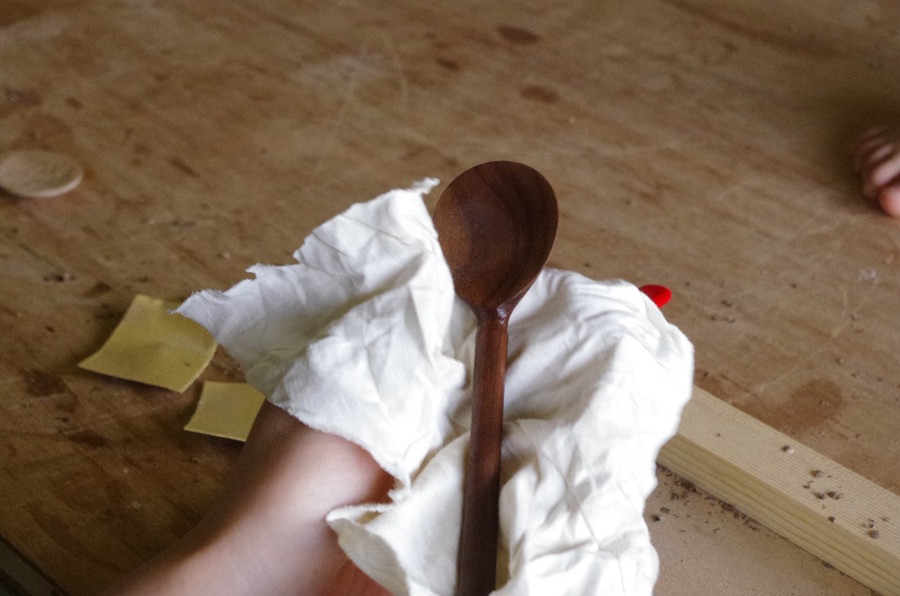
*オイルで使用した布は、水に浸してから捨てて下さい。(発火の恐れがあります)
*オイルが乾くまで使用せず、日陰の風通しの良い場所で乾かして下さい(12時間以上推奨)


